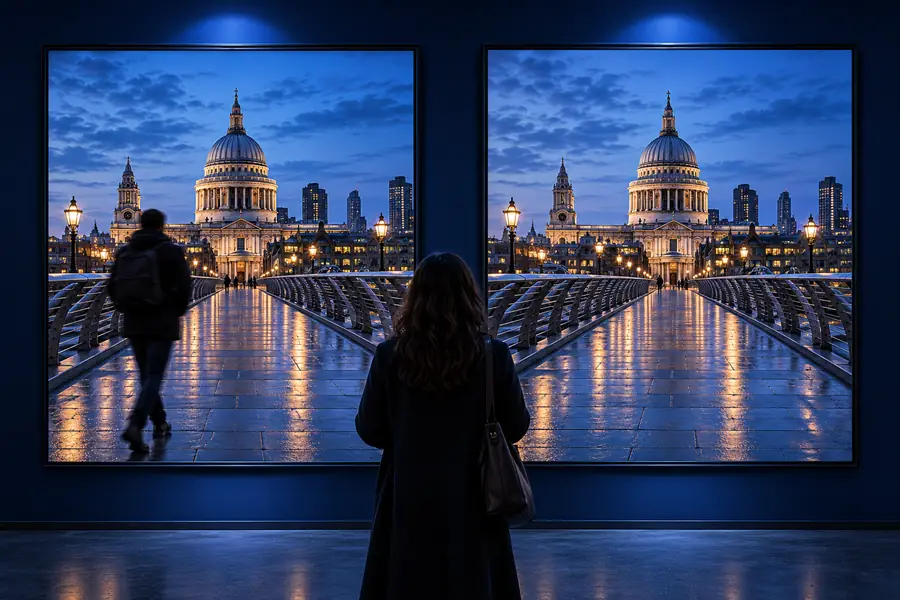
Magiceraser

Photo editing basics

In photo editing, what is a magic eraser?

If you are asking what is a magic eraser, it is a photo-editing tool that removes a selected distraction and fills the gap using clues from the surrounding image. The result can look natural, but it is a reconstruction—not a view of what the camera actually captured behind the object.

Photo editing example showing a cleaner composition

A one-line definition in everyday use

A magic eraser is most useful when one removable detail draws attention away from an otherwise good photograph. The goal is usually a cleaner composition, not a new scene.

Travel photographer

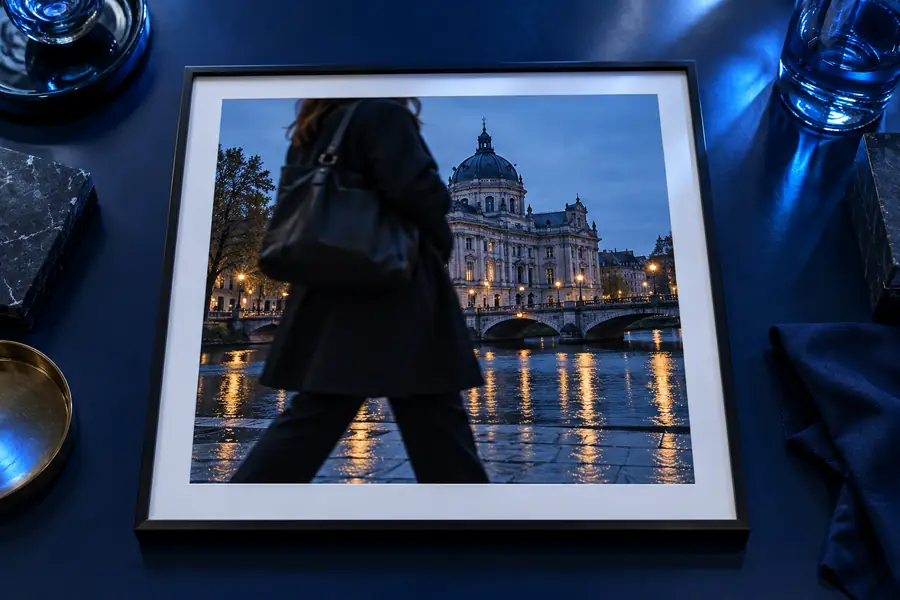
A passerby crosses an otherwise quiet landmark shot. Marking that person for removal may leave the building and street easier to see.

For crowded scenes, the guide to removing people from photos explains why overlapping subjects need a closer review.

remove people from photos

Small-business owner

A spare cup or cable distracts from a product on a tabletop. Removing the small item can help keep attention on the product.

The guide to removing an object from a photo covers how the background affects the result.

remove object from photo online free

Social media creator

An unwanted caption is baked into a photo rather than sitting in an editable text layer. Erasing it requires rebuilding the pixels beneath the letters.

The text-removal guide looks at lettering over both simple and detailed backgrounds.

remove text from image

Everyday photo keeper

A sign or bin near the edge of a family photo pulls the eye away from the people. A careful edit may make the image feel less cluttered.

The AI guide explains the difference between selecting a distraction and generating a plausible replacement.

magic eraser ai

How it works

Most magic eraser workflows follow the same idea: identify unwanted pixels, estimate what belongs in their place, then inspect the result at full size.

Choose the distraction

Start with the original photo and identify the smallest area that needs changing. A tight selection gives the editor more untouched surroundings to draw from; a broad selection may erase useful edges or shadows.

Rebuild the missing area

After the object is marked, the editor estimates replacement texture, color and structure from nearby parts of the picture. A magic eraser does not uncover hidden pixels behind the object—it invents a visually plausible fill.

Check and refine

Look for repeated patterns, bent lines, missing reflections and leftover shadows. If the patch stands out, undo it and try a smaller area, or make a second pass around the remaining edge.

What it cannot do

A clean-looking patch is not proof that the edit is accurate. Check the image against its intended use, especially when small visual details matter.

Recover the real hidden scene

If a person blocks a shop sign, the original letters behind them are not present in the photo. A magic eraser may create a convincing surface, but it cannot verify the missing information.

WorkaroundUse another photograph of the location when factual accuracy matters.

Guarantee an invisible edit

Brickwork, railings, faces and strong reflections make inconsistencies easier to spot. Large removals leave less nearby material to guide the fill.

WorkaroundWork in smaller selections and inspect straight lines and repeated textures.

Replace source-file editing

Erasing flattened lettering changes the image pixels; it does not restore an editable text layer. The same distinction matters for logos and other graphic elements.

WorkaroundIf you have the original layered design, edit that file instead.

Who uses it: a tabletop example

A product photographer might remove an extra object so the main subject reads more clearly. Compare the surrounding tabletop as well as the object itself.

Before: distracting detail

Tabletop photograph before the distracting object is removed
Tabletop photograph showing a cleaner composition
After: cleaner tabletop

A useful magic eraser result preserves believable grain, lighting and shadows around the edited area. The wider view may look tidy while a close crop still reveals a patch.

Try a focused photo edit

Start with one distraction

Choose a photo with a clear subject and one detail you would rather remove. Keep the original, make a targeted edit, and compare the surrounding lines and textures before using the result.

  • Keep your original photo
  • Start with a small area
  • Review the result closely

Frequently asked questions

A magic eraser removes a selected part of an image and fills the space with a plausible continuation of its surroundings. It is commonly used for small objects, stray people or other visual distractions. The filled area is an edit, not a recovered view of what was behind the subject.

They share a name but serve different purposes. A cleaning sponge physically scrubs a surface, while the photo-editing term describes a digital removal and fill process. Neither use tells you what an individual editing service supports.

No. Simple backgrounds may be easier to reconstruct than patterned walls, faces or intersecting lines. Check the edited area at full size for repeated textures, broken edges and shadows that no longer match.

No—the camera did not record the hidden area in that photograph. An editor can estimate a replacement using visible context, but it cannot confirm the actual detail beneath an obstruction. Use another source image if the missing detail needs to be accurate.

Edit a photo
Edit a photo